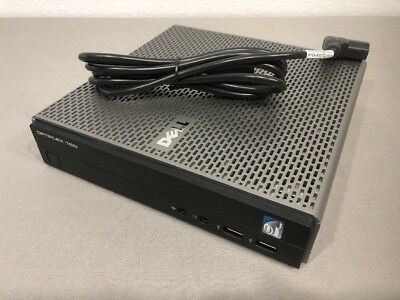
 So, in my lab a just added this tiny, quiet and inexpensive pc, a Dell Optiplex 160. It is an old Vista/7 class machine, and is running an Intel Atom, which is a great option for an always on storage device.
First thing I did was to install Nextcloud and synchronize it with my cell phone. So, instead of uploading the photos and videos to Google’s servers, I upload them on mine. Neat, ey ?
But, since the hard drive is a 2 TB and all my synced media uses only a fraction of that, I decided to take the next step and use it as a network storage device. There is the list of commands.
sudo apt update
sudo apt upgrade
sudo apt install samba
Next, we create the folder or folders that will be shared.
mkdir /home/nick/pictures/
Repeat this command for all the shares you want to create.
Next, we will edit the config file for Samba to make the shares accessible.
sudo nano /etc/samba/smb.conf
Inside, add this block of text for every share you created.
[pictures]
comment = My picture share on Ubuntu
path = /home/nick/pictures
read only = no
browsable = yes
Then, we restart the service and add it to the firewall rules.
sudo service smbd restart
sudo ufw allow samba
Last thing to do, create a samba user (preferably every user on the server will have a corresponding samba user, with the same name and a different password)
sudo smbpasswd -a nick
That’s it. Point your file explorer to the IP or name of your Ubuntu server, and enjoy your simple, practical, file server.
Leave a Reply